Role can be defined in terms of the authorization and obligation policies for a particular job function, which specify what actions the user is permitted or is obliged to do.
Fine-grained role based security model secures the content of the application and the enterprise network at large.
Privileges are the rights granted to roles to access EventTracker modules.
Permissions are the rights granted to users to access computer groups.
By default, this user is assigned administrator role. You cannot view / modify privileges and permissions of administrators.
An administrator can:
· Access all modules and system groups
· Promote a non-admin user as an administrator
· Demote an administrator
· Grant / revoke permissions and privileges to non-admin users
A non-Admin user
· Cannot access the EventTracker Web Control Panel
· Is restricted to the access of only those modules for which he/she is having permissions and privileges granted
For Example: If the non-admin user is granted permission for a particular group, he/she will only have access to the systems within that group. The user will be able to view the data pertaining to that particular group in various places such as Dashboards, Incidents, Search, Reports, etc.
If a non-admin user is granted privileges for modules such as Search, Reports and Incidents, then the user will be able to make use of only those modules.
Even if the user is a member of EventTracker User Group, EventTracker denies access if the user is not explicitly granted permissions and privileges.
The User Interface for the feature” User Management” has been revamped. A new feature “Managed Service provider (MSP) in User management”, while enabling Database Authentication.
The MSP feature provided in the update will serve the sole purpose of managing subscription related activities such as managing user accounts and monthly usage details of services provided by EventTracker per client.
The MSP feature will be available only when the user enables the Database Authentication in EventTracker Configuration.
MSP Admin will be responsible in managing and handling users at Customers’ environment (by adding/removing/changing password).
EventTracker Console might also run on Local or Active Directory authentication, based on selection made in EventTracker Configuration.
**IMPORTANT: MSP feature will be available only for Database Authentication.
NOTE: Depending on the User Authentication selected, the database will be fetched in the User Management page.
For Local account authentication,
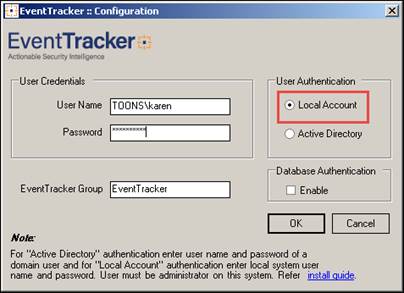
(Local Account)
For Active Directory authentication,

(Active Directory)
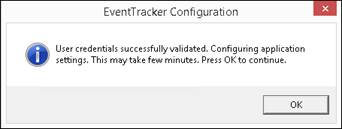
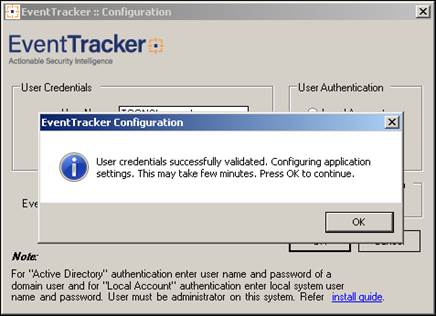
· Enter the credentials in the “EventTracker Configuration” window selecting Active Directory and click OK.
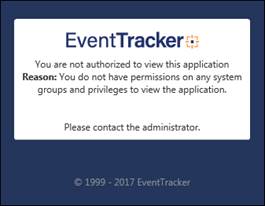
· It will display the below message.
**IMPORTANT: If the user toggles between Database Authentication being Enabled/Disabled, he or she will get the below warning message.
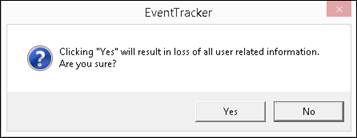
· The user can click “Yes” and proceed.
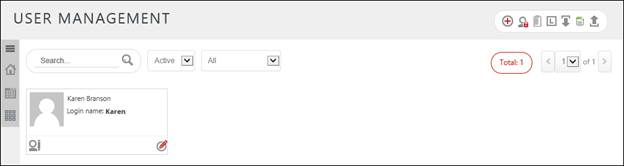
· Now login to EventTracker Web and navigate to Admin->Users.

|
Click |
To |
|
|
View the Home page for the respective view format selected (Tabular or Tile). |
|
|
Tabular view of users.
|
|
|
Tile view of users.
|
|
|
To export the user details in an excel format.
|
In the User Management page, click the Expand icon ![]() to view the sites and the groups under it.
to view the sites and the groups under it.
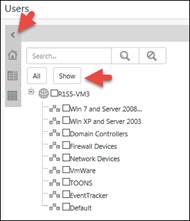
· Select the Site(s) or particular group(s) and click the Show option. It will display all the user(s) who are given permission to those respective group(s) or Site(s).
If a user is granted permission for a particular group, he/she will only have access to the systems within that group. The user will be able to view the data pertaining to that particular group in various places such as Dashboards, Incidents, Search, Reports, etc.
· To assign permission to a particular user, select the user.
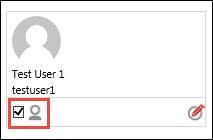
· Click the assign permission icon![]() .
.
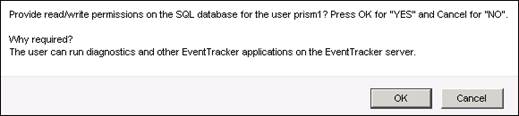
· It will display the below message.
· Click OK.
· Select the groups which will get listed and displayed in the right pane.
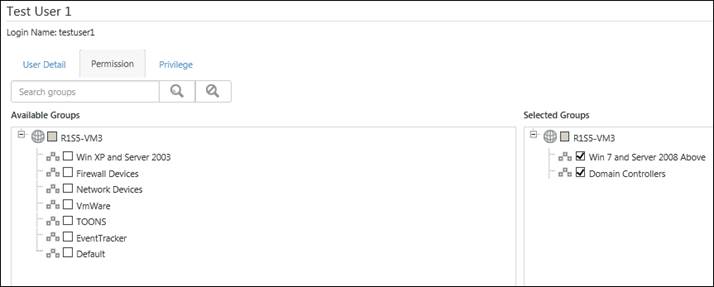
· Click Save button.
It will display a warning message.
· Click OK.
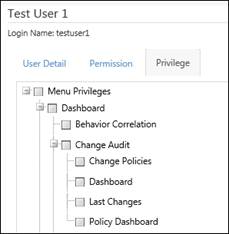
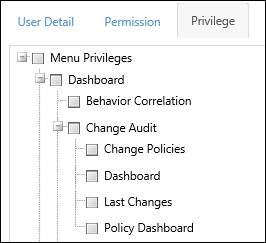
If a user is granted privileges for modules such as Search, Reports and Incidents, then the user will be able to make use of only those modules.
· Select the user and click the Assign privilege icon![]() .
.
It will display the below message.
· Click OK.
· Select the modules and click Save button.
Some customers or administrators may wish to restrict permissions of other users/administrators by giving read only permissions to other users/administrators. We have the option for read only admin(s) in which they will have the permission to only view data and reports. They cannot edit or modify them. All the modules in which there is an option to create, add, save, modify, and delete have been provided will be disabled.
To promote a User as an Administrator or Read Only Administrator-
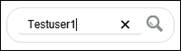
· Search the user by entering the name in the search box and clicking the search icon![]() .
.
· To modify permissions of the user, click the respective edit ![]() icon.
icon.
· The user can give either Admin/Admin Read Only permission for that respective user.
· After clicking Save the below message will be displayed.
(Applies to Admin only)
· Click OK.

NOTE: The ![]() icon signifies that administrator permissions have been assigned and the icon
icon signifies that administrator permissions have been assigned and the icon ![]() signifies that read only administrator permissions have been assigned.
signifies that read only administrator permissions have been assigned.
a) For Active Directory authentication with database enabled, in EventTracker Configuration window, enter the user credentials and check the option “Enable” under Database authentication.
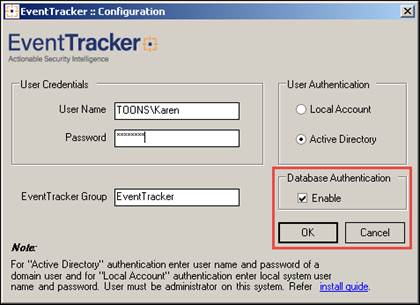
b) Once you click OK, it will display a message.

c) Click Yes and proceed.
d) Click OK.
· Now login to EventTracker Web and navigate to Admin->Users.
|
Click |
To |
|
|
Add a user |
|
|
Inactivate a user |
|
|
Delete a user |
|
|
Import the user details to excel. |
|
|
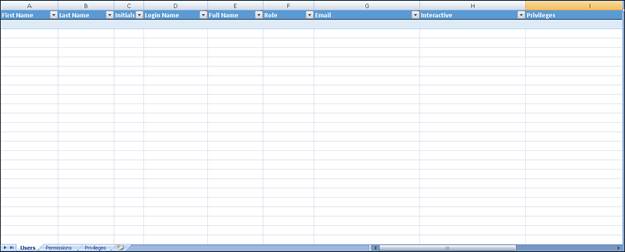
Download the excel template. |
The admin user will have the permission to assign role of other Admin(s), MSP Admin(s), Users and Admin Read Only.
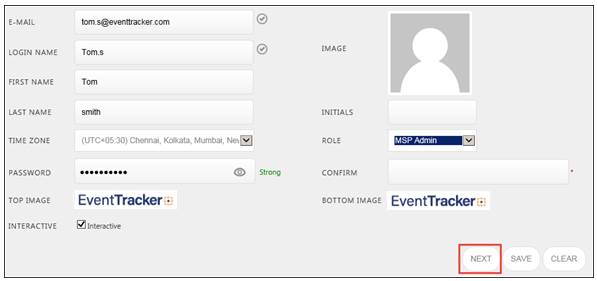
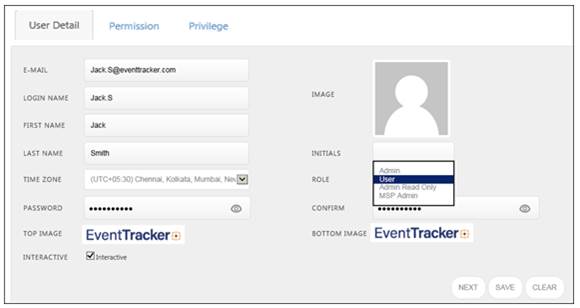
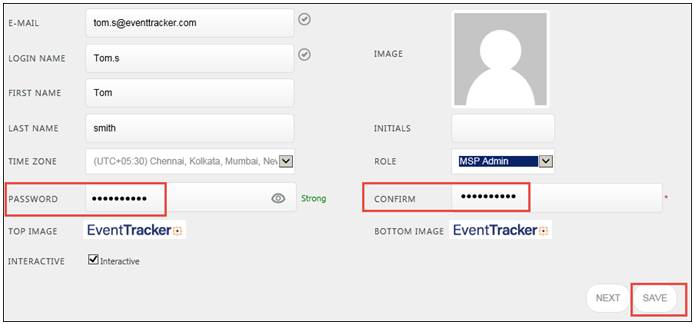
· Click the Add a user icon ![]() and enter the user details. as shown in the figure below.
and enter the user details. as shown in the figure below.
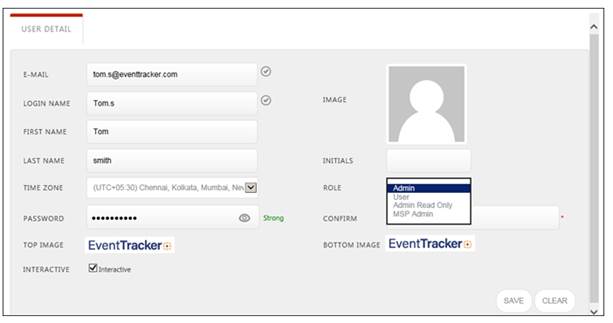
· After entering the user details, click the Save button.
The created user will receive an e-mail id with “Login Details” message.
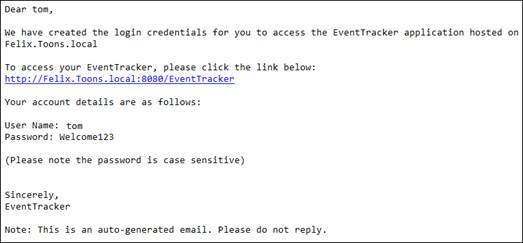
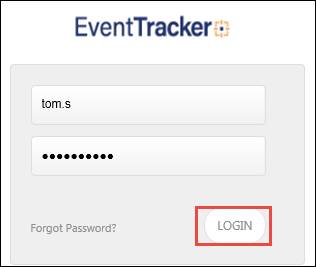
· The user needs to click the URL provided in the e-mail and enter the credentials in the login page.
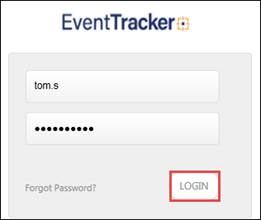
· Click LOGIN.
· The reset password page gets displayed.
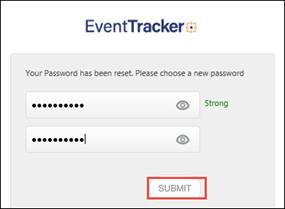
· Enter your user-friendly password and click on SUBMIT button.
· The main page for the user will be displayed. Hover over the profile name and select “ View profile” option for the profile details.
NOTE: For assigning role as (MSP Admin), the admin user will have options to add permissions.
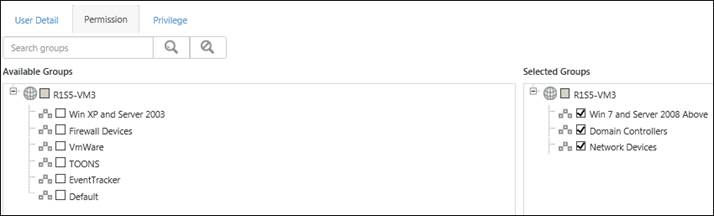
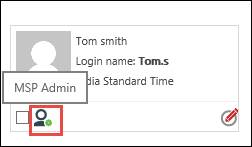
For example: If the admin user assigns “Tom”, the role of a MSP admin, he/she will have the option of navigating to the Next ->tab. This is shown in the figure below:
· Assign permission to selected Groups from the sites available and then click Save.
· The selected groups will be displayed in the right pane.
· The ![]() icon signifies that MSP Admin permissions have been assigned.
icon signifies that MSP Admin permissions have been assigned.
· The created MSP Admin user will receive an e-mail id with “Login Details” message. The user needs to click the URL, enter the credentials and login to EventTracker.
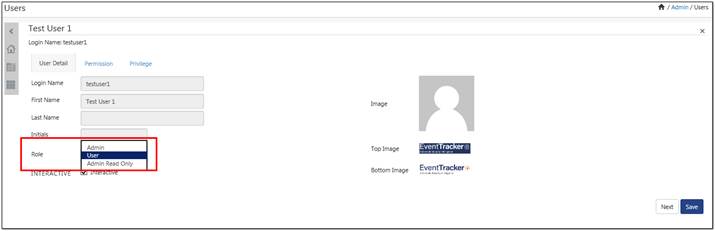
NOTE: For assigning “User” roles, the admin user/MSP Admin will have both the options to add permissions and privileges to the user(s).
· In the User details Page, in the Role field, select User from the dropdown options.
· Click Next.
· Assign permission to selected groups from the site and click Next.
· Assign the selected modules which they can make use of and then Save the changes.
· The created user will receive an e-mail id with “Login Details” message. The user needs to click the URL, enter the credentials and login to EventTracker.
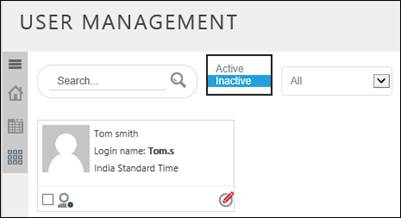
· To deactivate a user account, select the respective user and then click the Inactivate user icon![]() in the right hand side corner of the page.
in the right hand side corner of the page.

It will display a confirmation message. Click “OK”.
· Similarly, to activate a user, select the respective inactive user(s), and click the activate user icon![]() . It will display the confirmation message. Click OK.
. It will display the confirmation message. Click OK.
Once the user(s) gets activated, an auto-generated e-mail will be received by the respective user(s). The figure is shown below:

· To view the active/ Inactive users, select the preferred option from the dropdown box.
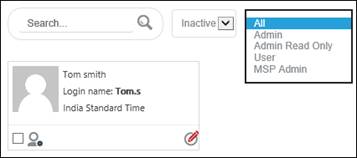
· Similarly for viewing the user(s) based on their respective roles, use the dropdown option.
If the created Admin(s)/MSP Admin(s)/User(s) fail to remember the password, he/she can follow the below mentioned steps:
· Login to EventTracker web.
· In the login page, click on Forgot Password.
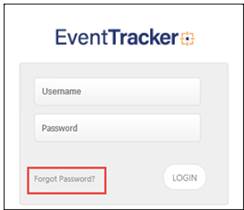
· It will prompt you to enter your e-mail id. Provide the e-mail id and click the Submit button.
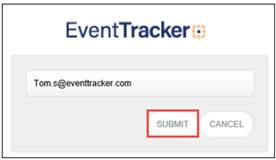
· It will display the below message.
· It will send a “Password Reset Confirmation” e-mail to your mentioned e-mail id.
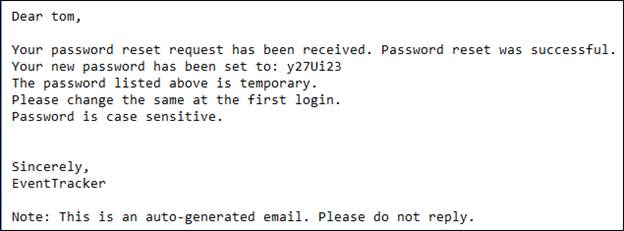
· Use the new password sent via e-mail and click Login.
It will display redirect to the Password reset page.
· Reset the password in to a user-friendly one and click on SUBMIT.

The user can successfully login to the EventTracker application.
If the MSP Admin(s) or User(s) wishes to change their password, please follow the below mentioned steps:
· Login to EventTracker web using the existing password and click on View Profile from the dropdown list
· In the profile page, change the password and click the Save button.
Templates can be downloaded in the excel format using the icon![]() , where the user can manually enter the user details in the respective columns provided. The user can also mention the permissions and privileges in the respective columns, by copying the required permissions and privileges from the respective sheets, provided in the template. The excel report prepared using the downloaded template can be further imported in excel format using the Import icon
, where the user can manually enter the user details in the respective columns provided. The user can also mention the permissions and privileges in the respective columns, by copying the required permissions and privileges from the respective sheets, provided in the template. The excel report prepared using the downloaded template can be further imported in excel format using the Import icon![]() .
.
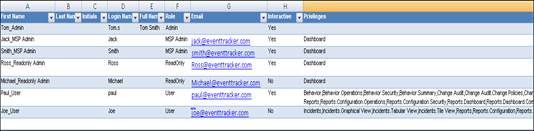
To export the user roles in the excel format, click the export icon![]() . The excel report gets exported with the user details.
. The excel report gets exported with the user details.
1. What are the types and roles of the User(s)?
· EventTracker Admin (will be able to access all the available modules): Can create/assign user(s), MSP Admin(s) and Admin(s).
· MSP Admin (will be able to manage only its users): The MSP admin is allowed to perform CRUD operation for his/her MSP Users.
· User(s) (will not be able to access Admin modules): The users can only access modules to which he/she has been given permissions and privileges.
2. If user re-runs the EventTracker configuration, what will be the existing database?
If user toggles (Enable/Disable), the Database authentication and runs the EventTracker configuration, then user data will be lost. Only the admin who runs the configuration, his/her data will be retained.
When user re-runs the configuration, without toggling the Database authentication, then the user data will not be affected.
3. Can the user change his details? Ex: E-mail, Password?
User can change his First name, Last name, Initials and Password. But the User cannot change his E-mail id, Username and the Role assigned.
4. Can the user deploy Agent on other system who has logged in using database authentication?
No. Agent deployment is possible only for Active Directory Users.
5. Does the Database authenticated user need any folder or SQL server permission?
No. The user does not require any special permission.
6. Who can set the logo customization image?
The ET Admin and MSP Admin can change their respective user’s logo. The User(s) is allowed to change his/her own logo.
7. Is there any limit for MSP Admin to add users?
No.
8. What if user forgets the password?
Forget password link is provided during login, user will receive the mail regarding it.
9. What does Import of user mean?
Importing user with privilege and permission but we should assign it from the template.
10. Who can remove MSP Admin?
EventTracker Admin and MSP Admin.
11. Can MSP Admin remove another MSP Admin?
Yes, if both MSP Admin(s) have the common group permission.
12. If MSP has been removed (or disabled) what about the users under that MSP?
The user(s) will be active and can access EventTracker.
13. Can ETAdmin change the role of a MSP Admin to user or other?
Yes.
14. Can ETAdmin change the Permission of MSP?
Yes.
15. Can the MSP Admin and Admin change the password of user?
· No. Only the user can change his/her password from the user profile.
We have provided an option to customize EventTracker logo based on user. You can add your company logo or any appropriate logo in EventTracker based on requirement.
|
2 NOTE |
|
• The top left and bottom left images inside the EventTracker application should be per user setting. • If no image is assigned to a user then default EventTracker logo displays. • A library of images can be maintained by the user to be used for assigning logo. • The image mapping is available only to the admin user. • User can also delete an image uploaded to the library.
|
1. To customize EventTracker logo and other details, click the Edit icon ![]() .
.

3. Click on the image and browse the customized logo.
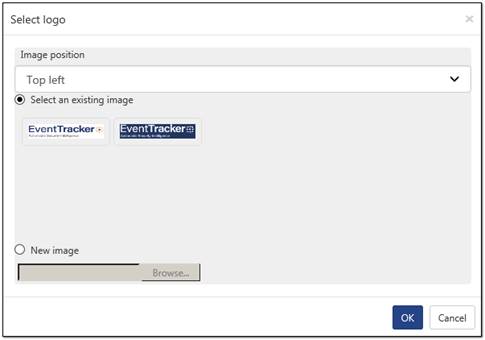
4. Select Image position: i.e. Top Image or Bottom Image or Both.
If Both are selected, then the image/logo will be replaced in bottom and top position.
5. Select an existing image or New image option.
In our example we will select a new image.
6. Click the Browse… button.
7. Select an image present in local drive or network drive having a resolution of 106 x 30 px.
The allowed image file formats are gif, jpeg, jpg and png.
8. Click the Save button.
The respective logo displays.
1. To delete the customized logo, select the logo icon ![]() at the right-hand corner.
at the right-hand corner.
Select logo window displays.
2. To delete, select the required logo.
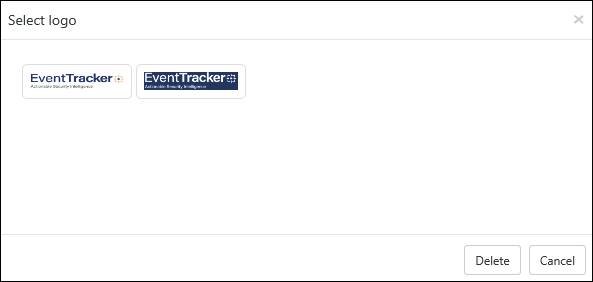
3. Select the Delete button.
A message to confirm the deletion of logo displays.
4. Select the OK button.
1. To export data to excel, click Export icon.
You can view the data in an excel file.